PDF Completion
info
Add text fields and checkboxes to attached PDFs so you can input information directly into the document. Signature fields can also be added so attachments can be sent and signed alongside forms.
Check out our video tutorial or read the step-by-step instructions below!
Adding Textboxes#
getting started
These features can be used on external PDFs that have been attached to a Forms Live form. For information on how to upload an external PDF see Attaching Files.
Scroll down to the uploaded PDF and Hover to the top left corner of the page to reveal the
Edit Fieldsbutton.Click the
Edit Fieldsbutton at the top left of the page.

Fig. 1.0 - Hovering over the PDF document to select Edit Fields
- The PDF editor will now appear in the
Sidebarto the right of the PDF.
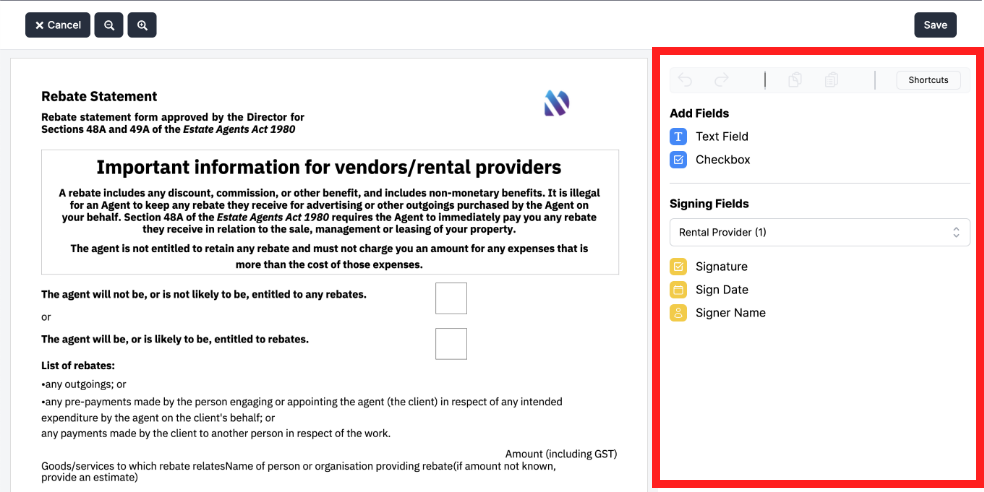
Fig. 1.1 - The Edit Fields sidebar revealed
- Click once on the
Text Fieldicon to activate the field.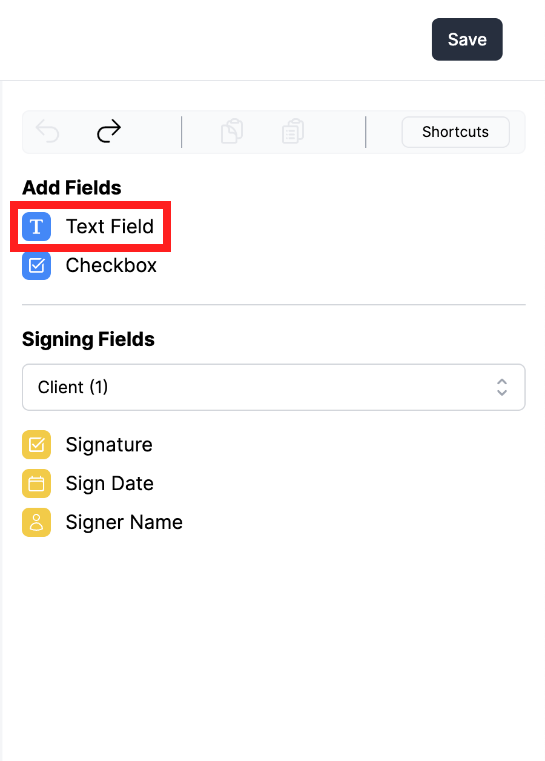
Fig. 1.2 - Adding a Text Field to the PDF
Click anywhere on the PDF to drop the
Text Fieldinto the document.Once placed within the document, Drag & Drop the textbox into preferred position.
To add text, navigate to the
Text Valuedialog box at the bottom of the sidebar.
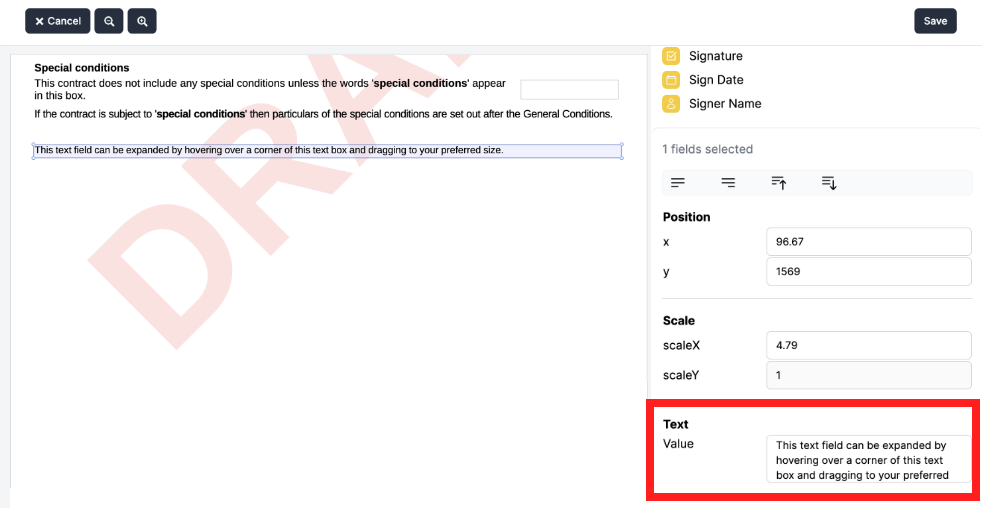
Fig. 1.3 - Adding content to the texbox
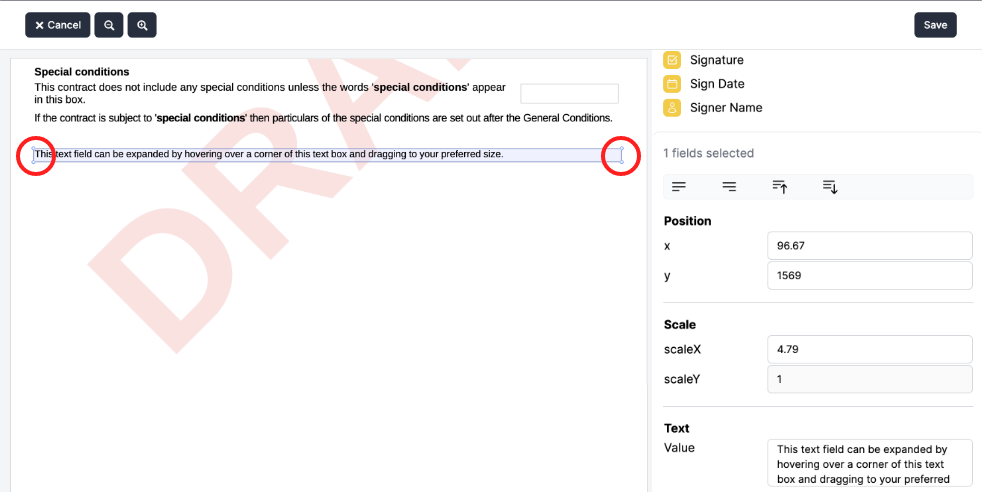
resizing textboxes
The size of the textbox can be resized by pulling the corners inwards and outwards. This is ONLY available for the Text Field.
To reposition a textbox within the document, Click on the field then Drag & Drop into the new position. Multiple textboxes can be moved by Highlighting the group, then Drag & Drop them into the new position
To remove a
Text Field, Click the textbox followed by the delete key on your keyboard.
Mac Users
Mac users MUST use the fn + del keys to delete a text box field.
Click
Saveto confirm the placement of the additional fields.Scroll below the form to view the attachment and interact with the added fields.
take note
Currently, only you, the subscriber, can fill out the added text fields and checkboxes, these actions can only be performed while the form is in draft. It is not yet possible to have your client fill out these fields before or during signing.
Adding Checkboxes#
getting started
These features can be used on external PDFs that have been attached to a Forms Live form. For information on how to upload an external PDF see Attaching Files.
- Scroll down to the uploaded PDF and Hover to the top left corner of the page to reveal the
Edit Fieldsbutton.
Fig. 2.0 - Hovering over the PDF document to select Edit Fields
Click the
Edit Fieldsbutton at the top left of the page.The PDF editor will now appear in the
sidebarto the right of the PDF.
Fig. 2.1 - The Edit Fields sidebar revealed
- Click once on the
Checkbox Fieldicon to activate the field.
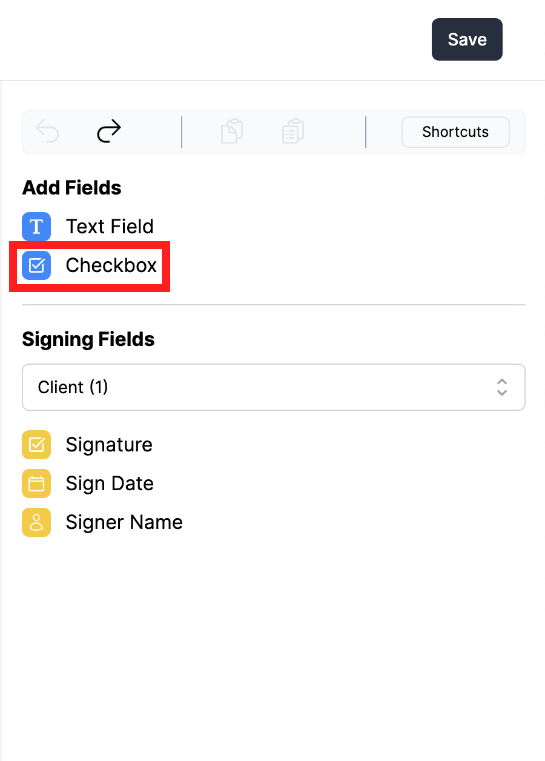
Fig. 2.2 - Selecting the Checkbox field from the Edit Fields sidebar
Click anywhere on the PDF to drop the field into the document.
Once placed, Drag & Drop the
Checkboxinto its preferred position.To reposition a
Checkbox, Click on the field, then Drag & Drop into the new position.
resizing checkboxs
The size of the Checkbox can NOT be resized - this is ONLY available for the Text Field.
- To add a
Text Fieldnext to aCheckbox, follow the following steps outlined in Adding Text Fields HERE

Fig. 2.3 - Aligning Checkbox Fields and adding textboxes fields to the document
- To Remove a
Checkboxfield, Click the checkbox followed by the delete key on your keyboard.
Mac Users
Mac users MUST use the fn + del keys to delete a text box field.
Click
Saveto confirm the placement of the additional fields.Scroll below the form to view the attachment and interact with the added fields.
Edit Field Shortcuts#
info
Use shortcut keys as an alternative to mouse control to perform common actions on fields.
- Navigate to the top right of the
Edit Fieldstoolbar and ClickShortcuts

Fig. 3.0 - Select the Shortcuts menu from top toolbar
- A
Shortcut Keysdialog box will appear outlining all the various shortcut keys available to edit forms faster.
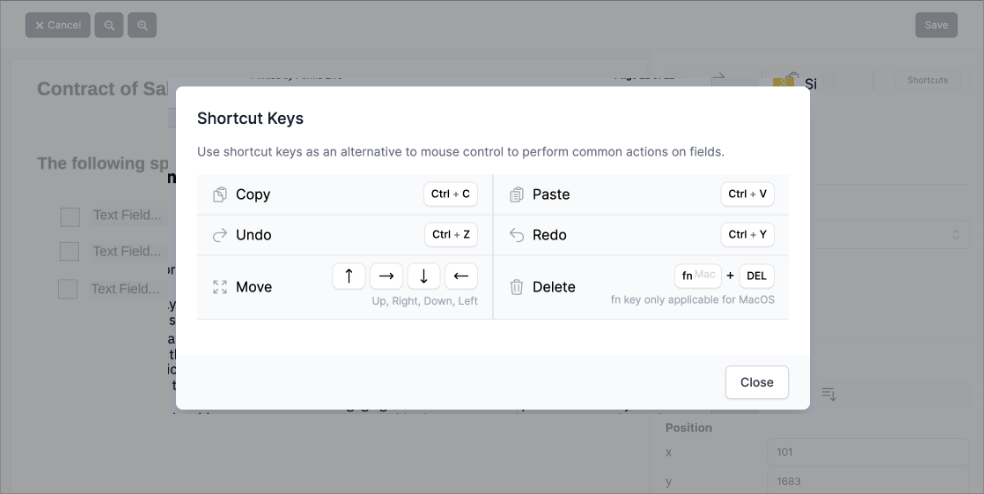
Fig. 3.1 - Shortcut Keys pop-up dialog box
- Click the
Closebutton to close theShortcut Keyspopup.
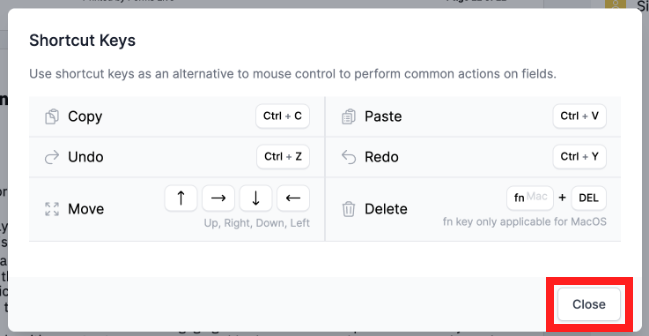
Fig. 3.2 - Closing the Shortcut Keys pop-up dialog box
add electronic signatures
This feature can be used for PDF Attachment signature fields. For information on how to add signature fields to an external PDF see PDF Attachment Signatures.